
How to Season a New Traeger: First-Time Burn-In Guide
You just unboxed a brand-new Traeger® grill, assembled it, and now you are ready to throw some ribs on. Stop. Before you cook a single piece of food, you need to season your new Traeger with an initial burn-in cycle. This process takes about an hour, costs you nothing beyond a handful of pellets, and ensures your first cook — and every cook after it — tastes the way it should.
Seasoning a Traeger is not complicated, but skipping it is a mistake that affects flavor, grill performance, and even safety. This guide covers exactly what to do, why it matters, and what to expect during your first burn-in.
What Does Seasoning a Traeger Actually Do?
The word "seasoning" gets thrown around a lot in the grilling world, and it means different things depending on the context. For a new Traeger pellet grill, seasoning refers to the initial burn-in process that accomplishes three specific things:
1. Burns Off Manufacturing Oils and Residues
During manufacturing, metal components are cut, pressed, welded, and coated. This process leaves behind machine oils, metal shavings dust, and chemical residues from paint curing. These substances are not toxic in trace amounts, but they taste terrible and produce acrid smoke. The burn-in cycle heats the grill to a high enough temperature to vaporize and expel these residues.
2. Primes the Fire Pot and Ignition System
The first time your fire pot ignites, it needs to establish a clean burn pattern. Running the grill through a full heat cycle — from startup through high temperature to shutdown — confirms that the auger feeds pellets correctly, the igniter rod lights them, the induction fan maintains airflow, and the temperature controller holds steady. Think of it as a test flight before the real mission.
3. Begins Building a Protective Seasoning Layer
Just like a cast iron skillet develops a non-stick patina over time, the interior surfaces of your Traeger begin building a thin layer of polymerized oil and smoke residue during the burn-in. This layer protects against rust and improves flavor transfer over the life of the grill. Your first seasoning cycle starts this process, and every subsequent cook builds on it.
What You Need
- Your fully assembled Traeger grill (follow the manufacturer assembly instructions completely before proceeding)
- Traeger Signature Blend Hardwood Pellets — the Signature Blend is an excellent all-purpose choice for your first burn because it delivers a balanced, mild smoke flavor
- High-smoke-point cooking oil (canola, vegetable, or avocado oil)
- Paper towels or a clean cloth
- 45-60 minutes of uninterrupted time
Important: Place your Traeger on a flat, stable, non-combustible surface outdoors with at least 3 feet of clearance on all sides. The burn-in produces more smoke than a typical cook, especially during the first 10-15 minutes as manufacturing residues burn off. Do not season your grill in a garage, covered porch, or any enclosed space.
Step-by-Step Seasoning Instructions
Step 1: Fill the Hopper
Open the hopper lid and pour in Traeger Signature Blend pellets. You do not need to fill the hopper completely — about 1/3 full (roughly 5-8 pounds) is plenty for the burn-in cycle. The grill will consume approximately 2-3 pounds of pellets during the 45-60 minute process at high temperature.
Make sure the pellets flow freely and there are no clumps or obstructions around the auger opening at the bottom of the hopper.
Step 2: Plug In and Power On
Connect the grill to a grounded outdoor electrical outlet. Turn the power switch to the ON position. The controller display should light up and show the current grill temperature (ambient).
Step 3: Start the Ignition Cycle
Set the temperature to the highest setting on your grill — this is 450°F on most Traeger models (some newer models like the Woodridge series go up to 500°F). The grill will begin its ignition sequence:
- The auger motor activates and feeds pellets into the fire pot
- The hot rod igniter heats up and ignites the pellets
- The induction fan blows air across the fire pot to maintain the flame
- You will see initial white smoke — this is normal startup smoke combined with manufacturing residue burning off
What to expect during the first 5-10 minutes: The smoke may be thicker and have a slightly chemical or metallic smell compared to what you will see on future cooks. This is the manufacturing oils and residues vaporizing. It is exactly what you want to happen. This is also why you do not want food on the grill during this step.
Step 4: Run at High Heat for 45-60 Minutes
Once the grill reaches your target temperature (450-500°F), let it run with the lid closed for 45 minutes to 1 hour. During this time:
- The interior surfaces are being heat-treated
- All manufacturing residues are burning off
- The fire pot and ignition system are being tested under sustained load
- The temperature controller is calibrating to your specific grill
You do not need to do anything during this phase. Just let the grill run. Check on it once or twice to confirm the temperature is holding steady on the display, but avoid opening the lid — you want to keep the heat inside.
Step 5: Oil the Grill Grates
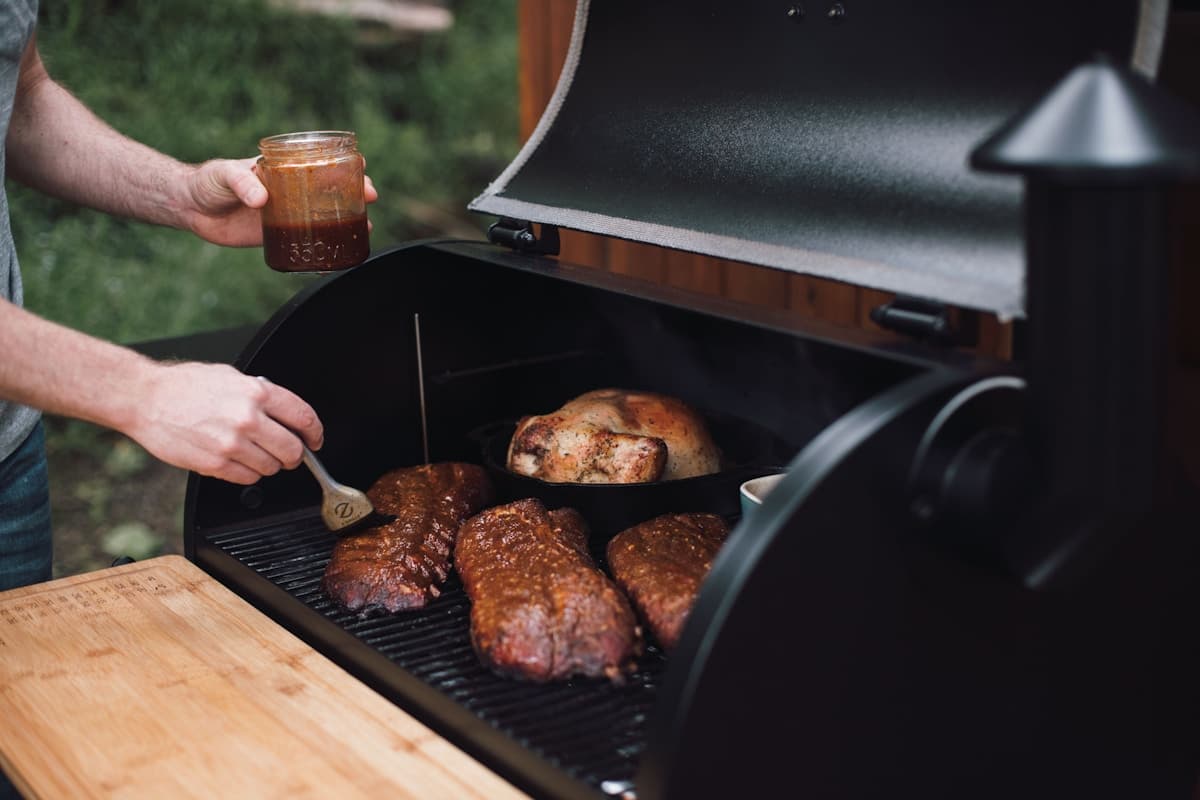
About 10 minutes before the end of your burn-in, it is time to season the grill grates. This creates a non-stick surface for your first cook.
- Fold a paper towel into a thick pad and soak it with high-smoke-point oil (canola or avocado oil work best)
- Using long-handled tongs (the grill is at 450°F — do not reach in with your hands), grip the oiled paper towel and rub it across the grill grates in smooth, even strokes
- Cover all surfaces of the grates, including the edges and undersides if accessible
- The oil will immediately begin smoking — this is polymerization happening, and it is exactly what you want
- Repeat the process one more time with a fresh oiled paper towel for a second coat
Step 6: Run the Shutdown Cycle
After the full burn-in period and grate oiling, set your Traeger to the SHUTDOWN cycle (or turn it to the lowest setting, then OFF, depending on your model). Let the grill run through its complete shutdown sequence — this takes about 10-15 minutes as the fan runs to burn off remaining pellets in the fire pot and cool the system.
Do not unplug the grill before the shutdown cycle completes. Cutting power prematurely leaves unburned pellets in the fire pot, which can cause ignition issues on your next startup.
Step 7: You Are Ready to Cook
Once the grill has cooled, your Traeger is officially seasoned and ready for its first real cook. The grates should have a slight sheen from the oil coating, and the interior surfaces should look slightly darker than when you started — that is the beginning of your seasoning patina.
What to Cook First on Your New Traeger
Your grill is seasoned and you want to make something impressive. Here are the best first-cook options:
- Chicken thighs — Forgiving, quick, and a great way to test smoke flavor without committing to an 8-hour brisket. Check out our Traeger smoked chicken thighs recipe for exact instructions.
- Burgers — Simple enough that you can focus on learning how your grill behaves rather than worrying about a complicated recipe.
- Pork shoulder — If you want a showstopper and have the time, a pork shoulder is incredibly forgiving on a pellet grill and will give you a great baseline for how your Traeger handles long cooks.
For your first few cooks, we recommend sticking with the Signature Blend pellets so you learn what the baseline smoke flavor tastes like before experimenting with different wood types.
Do I Need to Re-Season My Traeger?
No. The initial burn-in is a one-time process. Every cook you do after that continues building the seasoning layer naturally. You do not need to repeat the high-heat burn-in cycle unless:
- You did a major deep clean that stripped the interior seasoning (using degreaser on the interior walls, for example). In this case, run the grill at 350°F for 15-20 minutes to re-establish a light seasoning layer.
- The grill sat unused for months and the interior surfaces show signs of surface rust. Scrub off the rust with a nylon brush, wipe with oil, and run a 20-minute burn at 350°F.
For ongoing maintenance, check out our Traeger maintenance schedule which covers everything from routine grate cleaning to seasonal deep cleans.
Frequently Asked Questions
How long does it take to season a new Traeger?
The active burn-in process takes 45-60 minutes at 450°F, plus about 10-15 minutes for the shutdown cycle. Including assembly time and grate oiling, plan for about 2 hours total from unboxing to being ready for your first cook.
Can I season my Traeger at a lower temperature?
Traeger officially recommends running the burn-in at the highest available setting (450-500°F). Higher temperatures are more effective at vaporizing manufacturing oils and initiating the polymerization of cooking oil on the grates. Running at a lower temperature will not cause harm, but it may not fully remove all residues, and you may notice a slight off-taste on your first couple of cooks.
What pellets should I use for the initial burn-in?
Use any Traeger hardwood pellets. Traeger Signature Blend is the most popular choice because it produces a balanced, mild smoke profile. Since you are not cooking food during the burn-in, the pellet flavor does not matter for this step — what matters is that you are running genuine hardwood pellets through the auger and fire pot system to confirm everything works correctly.
My new Traeger is producing a lot of smoke during burn-in. Is that normal?
Yes. Heavier smoke during the first 10-15 minutes is completely normal and expected. This is manufacturing oils, dust, and paint curing residues burning off. The smoke should gradually thin out and become the lighter, blue-tinted smoke you will see during normal cooking. If heavy white smoke persists beyond 20-30 minutes, check that the fire pot is not overfull with pellets (an auger jam can cause this) and that the chimney is not blocked.
Do I need to season the grill grates separately?
The grate oiling step during burn-in (Step 5 above) handles this. However, if you want to build a stronger non-stick surface, you can repeat the oiling process 2-3 times total during the burn-in. Some grill owners also oil the grates lightly before each cook for the first month, which accelerates the seasoning process. After that, the accumulated seasoning layer does the work for you.
Start Your First Cook Right
Traeger Signature Blend pellets are the perfect all-purpose choice for seasoning your new grill and every cook that follows. A blend of hickory, maple, and cherry delivers balanced smoke flavor.
Check Price on Traeger.comRelated Guides
Now that your grill is seasoned, make sure you know how to keep it in top shape:
- How to Clean Your Traeger Grill — The complete cleaning guide for routine and deep cleans.
- Traeger Maintenance Schedule — A full checklist covering every maintenance task and when to do it.
- Traeger Woodridge Review — If you are still shopping, see how Traeger's newest grill performs.
Explore more: Complete Smoking Guide | How to Clean a Traeger Grill | Traeger Maintenance Schedule | All Guides